

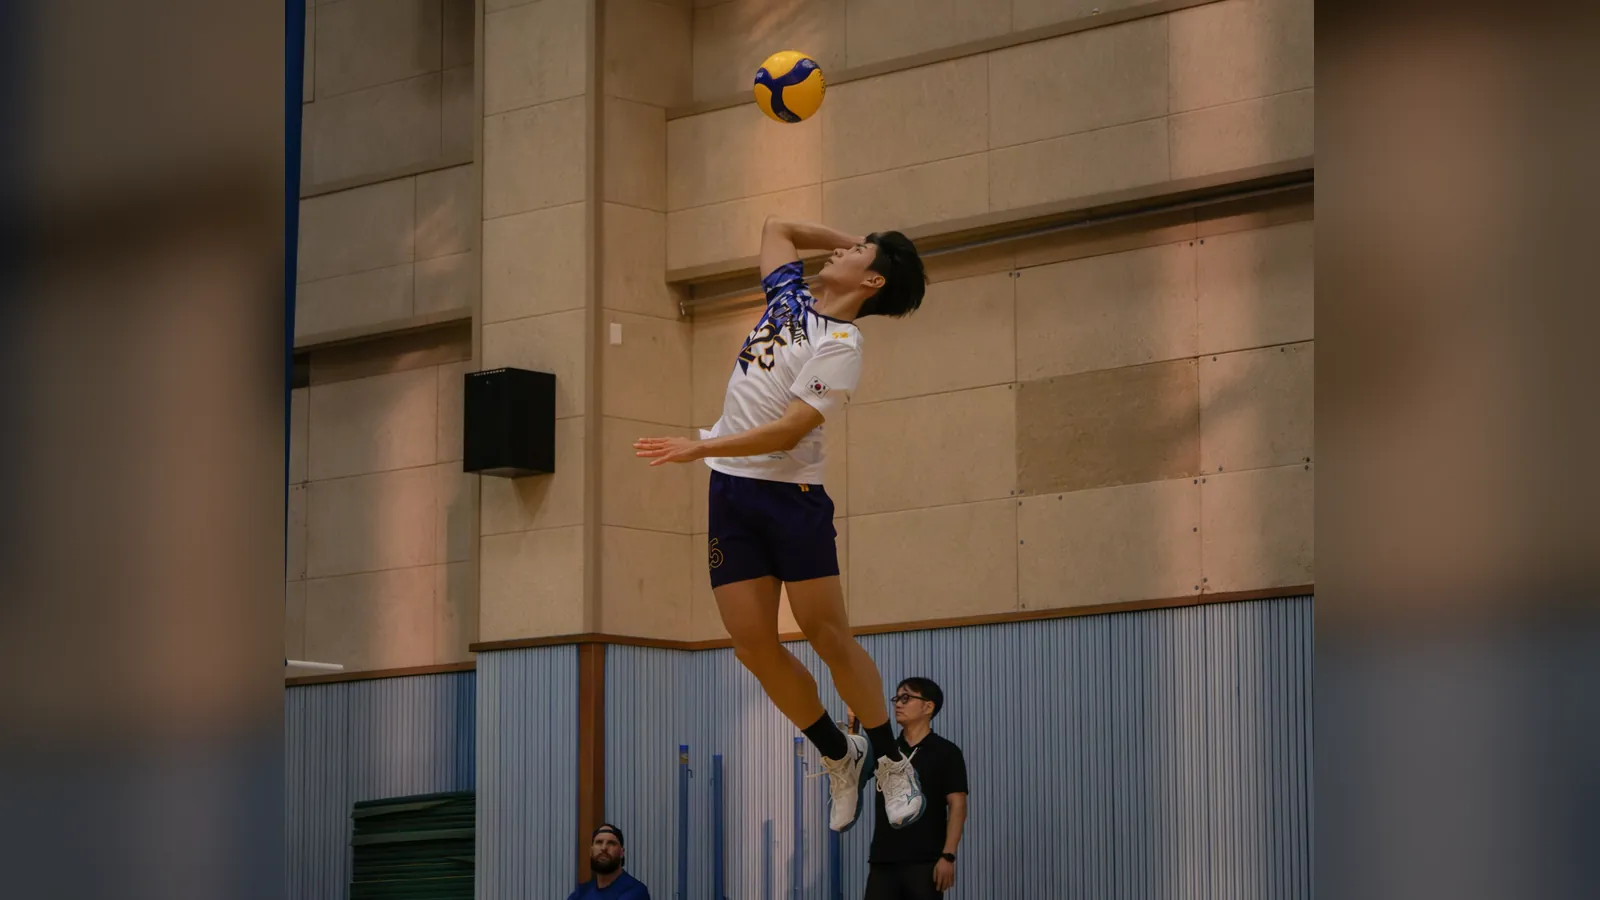
The serve is the only action in volleyball that depends entirely on you: nobody passes you the ball and the opponent can’t touch it until it crosses the net. That’s why the best serve isn’t the hardest one, but the one that almost always goes in and puts the receiving team under pressure. Here are the five types of serve, step-by-step technique, the official rules and drills to improve it.
Types of volleyball serve
Ordered from easiest to hardest. The table sums up which level each one suits; below you’ll find how each is performed.
| Serve | Level | Advantage | Drawback |
|---|---|---|---|
| Underhand serve | Beginners | Rarely misses | Easy to receive |
| Float serve | All levels | Unpredictable flight with little risk | Needs a very clean contact |
| Topspin serve | Intermediate | Drops fast even when hit hard | Goes long if the contact is off |
| Jump float serve | Intermediate and advanced | Faster and flatter than the standing float | Harder to control |
| Jump serve | Advanced | The hardest to receive | The one with the most errors |
Underhand serve
The ball is struck from below with the fist or the heel of the hand, swinging the arm like a pendulum. It’s the beginner’s serve: it almost always goes in and lets you play from day one. At higher levels it’s rarely used because the ball arrives slow and high.
Float serve
It’s the most widely used serve at every level. The ball is hit above the head with a firm hand and no follow-through, so it leaves without spin. Without spin, the air moves it irregularly and the receiver struggles to judge where it will land.
Topspin serve
You hit the back and top of the ball and snap the wrist forward to give it forward rotation. The ball dips sharply in the second half of its flight, so you can serve hard without it going long.
Jump float serve
It combines a short two- or three-step approach and a small jump with the float contact. Because the ball is hit higher and closer to the net, it travels flatter and reaches the receiver sooner.
Jump serve
It’s a spike from behind the end line: a high toss in front of you, a spike approach and a topspin contact. It’s the most aggressive serve and also the one with the most errors, so it pays to master the float first.
Float serve step by step
It’s the serve that pays off most, so it’s the first one to master. For a right-hander (left-handers, the other way round):
- Stance: feet shoulder-width apart, left foot slightly forward and pointing where you want to serve. Weight on the back leg.
- Toss: hold the ball in your left hand in front of your right shoulder and toss it without spin, low (about 50 cm) and slightly forward. A bad toss is the number one cause of missed serves.
- Arm swing: draw your right arm back with the elbow high, at ear level or above, as if throwing a ball.
- Contact: shift your weight to the front leg and hit the centre of the ball with a firm palm and locked wrist, in front of your head.
- No follow-through: stop your hand right after contact. If you follow through or flick the wrist, the ball spins and stops floating.
- Into the court: after the hit, step into the court and take your defensive position.
Jump serve step by step
- Distance: stand 3 to 4 metres behind the end line, depending on the length of your approach.
- Toss: toss the ball high and in front of you, with your hitting hand or both hands, giving it forward spin. It should drop near the end line so that you have to jump forward.
- Approach: the same as for a spike: left, right, left for a right-hander, with the last two steps quick.
- Take-off: take off behind the end line without touching it. After the hit you may land inside the court.
- Contact: hit at the highest point, in front of your shoulder, and snap the wrist so the ball comes down with topspin.
Serving rules
This is how the official FIVB rules 2025-2028 regulate the serve in indoor volleyball (rule 12):
- The player in position 1 (right back) serves from the service zone: 9 metres wide behind the end line, extending to the end of the free zone.
- You have 8 seconds to hit the ball after the first referee’s whistle. A serve made before the whistle is cancelled and repeated.
- Only one toss is allowed. You may bounce the ball or move it in your hands beforehand, but tossing it and letting it drop is a fault.
- The ball must be hit with one hand or any part of the arm.
- At the moment of the hit, or the take-off for a jump serve, you must not touch the court (end line included) or the floor outside the service zone. After the hit you may land inside.
- The ball may touch the net as it crosses, as long as it passes through the crossing space, between the antennae.
- The server’s teammates must not screen the hit or the flight of the ball, and none of them may raise their hands above their head during the serve.
- If the serving team wins the rally, the same player serves again. If the receiving team wins it, they rotate before serving.
Common mistakes and how to fix them
- A different toss every time. Practise the toss alone: toss and let the ball drop. It should always land in the same spot, in front of your lead foot.
- Serves into the net. You’re usually hitting the ball too low or above its centre. Toss a little higher and hit in front of your head.
- Serves going long. You’re hitting below the centre or leaning back. Shift your weight forward as you hit.
- The float spins. A soft hand or a wrist that follows through. Keep the hand firm, contact with the palm and stop right after the hit.
- Serving hard without control. In a match, a serve that lands in an awkward zone is worth more than a powerful one that misses. Aim for consistency first.
Drills to improve your serve
- Serving close to the net. Start about 6 metres from the net and take a step back every time you land 5 serves in a row, until you reach the service zone.
- Serving against a wall. From 4 or 5 metres away, serve at a mark on the wall at net height (2.43 m for men, 2.24 m for women). You work on the toss and contact without chasing balls.
- Serving to zones. Split the opposite court into the 6 zones and serve to each one in turn. Note how many serves it takes to complete the round.
- Target serving. Place towels or hoops between two receivers or in the corners and count your hits in sets of 10.
- Serving under pressure. At the end of practice, when you’re tired, land 10 serves in a row. Miss one and you start again. That’s how you train the serve for the end of a set.